Learning how to properly apply rosin to a new bow is a little like the story of Goldilocks and the Three Bears. Apply too much rosin, and your bow will feel sticky and produce a harsh, scratchy sound. Apply too little rosin, and your bow will slip across your instrument’s strings and make a faint, thin sound. Apply just the right amount of rosin and your instrument will produce a powerful, clear note! So, how do you find that perfect middle ground? And how much rosin do you need on your violin, viola or cello bow, and what’s the proper way to apply it?
We’ll walk you through everything you need to know, from selecting the right rosin to listening to know if you’ve applied the right amount.
What Is Rosin?
Rosin is primarily made from tree resin or pine sap. “[It’s] drawn directly from living trees in a tapping process–in much the same way that maple syrup is collected (the process in no way harms the tree),” Strings Magazine explains.
Rosin goes through a purification process to become the amber-colored, sticky substance you’re familiar with. When applied to the horse hairs on a violin bow, rosin helps create friction between the bow and strings. A bow cannot grip the violin strings to produce sound without rosin.
Selecting Your Bow’s Rosin
What rosin should I use? First, make sure you use rosin that’s made for your instrument. Violin, viola, cello, and bass rosin are not interchangeable.
Next, know the three general categories of rosin: light, medium, and dark rosin.

- Light rosin: Light rosins are harder and denser, ideal for viola and violin. They’re often used in high-temperature areas for playing chamber music or solo.
- Medium rosin: Your in-between rosin! Medium rosins aren’t as sticky as dark rosins but not as hard as light rosins. They tend to be popular among cellists and violinists who want a little more grip.
- Dark rosin: Dark rosins are softer and stickier than light rosins and are best suited for dry, cool temperature areas. They’re popular among double bassists and cellists.
Why the different colors? “The color of rosin is dictated by the time of year during which it is collected. If the resin is tapped in late winter or early spring, it will be gold or amber in color and hard when set up. As the seasons change to summer and fall, the color of the resin darkens and the consistency softens,” Strings Magazine notes.
You’ll want a rosin that supports your playing style, produces the sound that’s right for you, and works best in your climate (humid versus dry). Talk to your local CodaBow dealer about your skill level and playing style. They’ll be able to provide you with recommendations specific to your climate and help you determine how best to rosin a new bow.
Preparing the Rosin
A brand new cake or box of rosin looks good enough to eat! It’s small, smooth, and glossy. But even though it looks perfect, it’s not ready to apply on your bow. You’ll need to roughen up the surface so that the rosin rubs off on your bow instead of slides over it. Score the surface with sandpaper or scrape it lightly with a fork. Stop when the block looks dull and starts showing dust—no need to poke the rosin or press hard.
Applying the Rosin
You have the right rosin for your bow, you’ve prepared the rosin, and now it’s time to learn how to properly apply the rosin to your new bow!
- First, tighten your bow. Don’t touch the bow hairs as the oil from your fingers will rub off and make it hard for the rosin to stick.
- Hold the bow in your dominant hand and the rosin in your other.
- Gently place the rosin at the bottom of your bow. Slowly move the bow across the rosin’s surface, moving from the bow’s base to the top and back again. Some violinists like to imagine the rosin is the violin and pretend as if they’re bowing the violin right into the rosin.
- Stroke the bow across the rosin three or four times. For brand new bows, apply even more rosin. Rotate/move the rosin to a slightly different position with each stroke so that it wears evenly over time. Otherwise, you’ll end up with grooves or a large rut down the middle of the rosin, which will make it challenging to apply the rosin evenly in the future.
- Don’t go overboard! “A lot of people use way too much rosin—you don’t really need to apply rosin each time you play; once every four or five times [per practice] is more than enough. If you need to rosin too often, your bow probably needs a good rehair,” Richard Ward of Ifshin Violins explains in String Magazine.
- Reapply rosin after three to five hours of playing or when you feel that the bow needs more.
Did you apply too much rosin on your bow? Again, don’t use your fingers to wipe it off. You can continue to play until the rosin wears down to the right amount, or gently wipe the bow with a clean, dry cotton cloth.
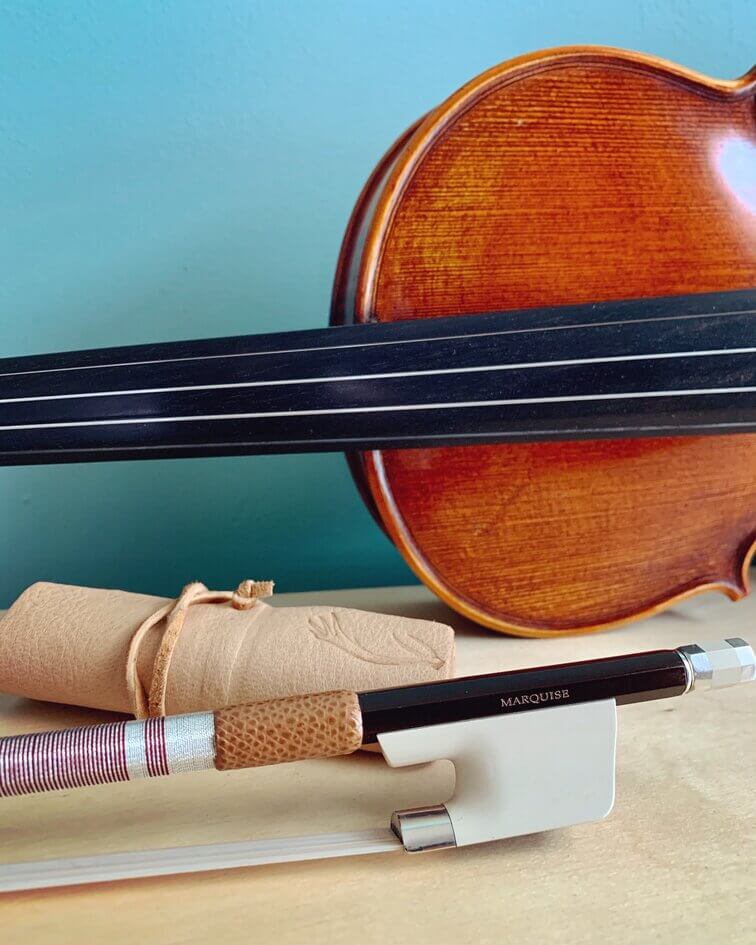
How to Apply Rosin to a new CodaBow
What rosin should you use on a Codabow carbon fiber bow? We have a couple of different suggestions depending on your budget and desired feel.
We generally recommend that you use Leatherwood or Cecilia rosin on a CodaBow. It’s a premium brand and on the more expensive side, but it’s definitely our top pick.
Bella Rosin, Thomastik, Yumba, and Pirastro also make wonderful rosin. So does Magic Rosin, which is especially good if you’re looking to customize the look and feel of your rosin. They make custom imprints with photos, logos, or artwork of your own, and also product custom colors like blue and red.
CodaBow Pro Tips: When To Rosin, Repair, or Replace a Violin or Viola Bow
On behalf of CodaBow, master violist David Auerbach shares pro tips, including how he knows when it’s time to rehair his bow. He also speaks of when an instrument’s bow should be replaced, and the durability and long-life of carbon fiber bows.
Make CodaBow Your Go-To Source for Bows and Information
Now that you’ve learned how much rosin to put on a violin, viola or cello bow, it will quickly become second nature to you. Reach out with questions. and follow CodaBow on Instagram and YouTube, and get added to our email list for more information on bow care and usage! Feel free to try an In-Home Trial to see the CodaBow difference.

Stay Connected